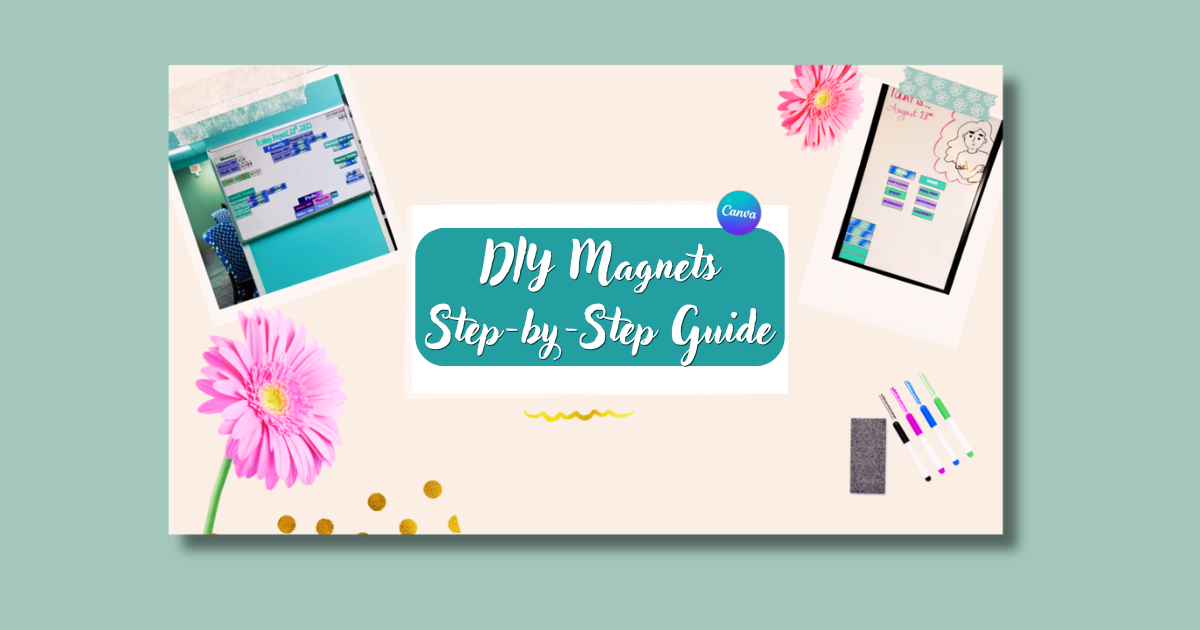
DIY Magnet Supplies + Step-by-Step Guide
This supply list is a companion to my DIY Magnet Tutorial. If you’re here for the step-by-step breakdown, you’re in the right place! Below, you’ll find a mix of the exact items I personally used along with comparable replacements, plus detailed instructions to help you create a flexible, reusable magnet system that fits your needs.
Affiliate Disclaimer:
This post may contain affiliate links, including Amazon Associate links. If you click through and make a purchase, I may earn a small commission at no additional cost to you.
Your support helps keep Have We Peeked growing — thank you! 💛
Supplies You’ll Need
💡 Note: The printer I originally used (HP OfficeJet 3830) is discontinued. Based on current availability, the HP OfficeJet 8015e may be a comparable option, but I cannot guarantee its performance since I have not personally used it.
Here are the supplies I used or researched as alternatives:
- Stone City Printable Magnetic Sheets (5 sheets)
- Stone City Printable Magnetic Sheets (12 sheets)
- 40 PCS Self-Adhesive Laminating Sheets (9 x 12 inches)
- 130 PCS Self-Adhesive Laminating Sheets (9 x 12 inches)
- 2 Pack Expanding File Folder (A6 Mini Accordion, 13 Pockets)
- WORKLION A4 Paper Craft Cutter
- HP OfficeJet 8015e Wireless Color All-in-One Printer
- EXPO Low Odor Dry Erase Markers (Chisel Tip, 12 count)
- EXPO Low Odor Dry Erase Markers (Ultra-Fine Tip, 8 count)
- EXPO Dry Erase Markers Kit (Fine + Chisel Tip, 14 count)
- Westcott 8″ Bent Craft Scissors
- Cricut XL Scraper Tool
Step 1: Design in Canva
Open Canva (or save time and use my free template below 👇). Create simple squares or rectangles with names, tasks, or leave some blank for flexibility.
For reference, I used the following sizes for my magnets:
- Medium: 4″ x 1.5″
- Large: 5″ x 1.5″
- Small: 1″ x 1.5″
These worked well for me, but you can always adjust the sizes to fit your needs.
Step 2: Customize
Add names, tasks, or color-code them however you like. Play with fonts, backgrounds, or keep it simple — whatever feels easiest to read.
Step 3: Print on Magnetic Sheets
When you’re ready to print, click the Share button at the top of Canva and select Download. Choose PNG as the file type. If you designed multiple pages, you can either download them all or select only the ones you want to print. Once you click Done, the file will download to your computer.
Next, open the downloaded file and go to Print. Here’s how I set mine up (you can adjust as needed for your printer):
- Paper size: 8.5 x 11 inches
- Orientation: Portrait
- Scale to Fit: Selected
- Print Entire Image: Selected
I recommend loading one magnetic sheet at a time to ensure proper alignment and reduce the chance of smearing.
For reference, I used Stone City Glossy 8.5×11 magnetic sheets, which are designed for dye ink inkjet printers. They worked well with my HP OfficeJet 3830.
💡 Note: The HP 3830 is discontinued — check my Amazon Supply List for a current comparable printer option.
Step 4: Laminate for Durability
Apply self-adhesive laminating sheets over your printed magnets. This protects the surface and makes it dry-erase friendly.
(Just note: once the laminate sticks, it’s permanent, so take your time.)
Step 5: Cut Out the Magnets
Use a paper cutter for straight, clean edges or sharp scissors if that’s what you have on hand.
If you’re comfortable with a Cricut, you may be able to set it up to cut the magnets as well — but I chose not to use mine since the magnetic sheets are a bit pricey. I didn’t want to risk damaging them.
Step 6: Arrange and Use
Place your magnets on a whiteboard, fridge, or any magnetic surface. For blank ones, just write directly on them with a dry-erase marker, then wipe them clean when you’re ready to reuse.
✨ Now your magnet system is ready to go — simple, reusable, and completely customizable.
You now have everything you need—supplies, steps, and tools—to create your own DIY magnet system. If you’d like to see how I designed and customized mine from start to finish, check out my full tutorial: “DIY Magnets: Turning Chaos into Calm.” In this tutorial, I share the inspiration behind the project, explain why it works well in various settings, and show you how to adapt it for your home, school, or workspace.